First thing to be pointed out: I base the instructions on the physical CD releases of both games. And mind you, both are their English original releases.
So problems with your localized versions will be not covered here.
Starlancer is the older of the two and the easiest to deal with.
It has native Joystick support and the community open-source reimplementation OpenReliant makes playing the game on modern systems pretty straight forward. It also introduces native XBOX One Controller support!
What is special about installing OpenReliant is, that it is fully command line driven!
So here is what I did:
1. Insert CD 1 of 2 into the drive
2. download the latest OpenReliant release, extract its archive to the folder you would like the game to be installed.
3. I had the CD 1 in drive D: and wanted to install it on drive H:, which for me ended up in this command line on CMD (open it as Administrator):
openreliant.exe install –from D:\ “H:\Program Files (x86)\Microsoft Games\Starlancer\openreliant”
4. After it is finished with CD 1, insert CD 2 and repeat the command.
5. Once CD 2 is done too, simply double click OpenReliant.exe to start the game.
Next up is Freelancer HD Edition, which is a wonderful mod adding HD, 2K and higher resolutions to the game.
It just needs the original Freelancer installed on your Windows already, but at least it does not touch them so you can keep using your installation vanilla or copying the files for a different mod which we will do later.
To get Freelancer HD Edition working, I would suggest going the following route:
- Install Freelancer from your phyiscal CD
- Download and run the FreelancerHDESetup*.exe
- I’d suggest here to use the custom option,as per default, it saves the savegames of FreelancerHDE in the original Freelancer Savegames folder at %Documents%\My Games\Freelancer, selecting in the options to let FreelancerHDE use its own savegame folder, makes it create the folder %Documents%\My Games\FreelancerHDE, instead,
We all know that we were sad when Freelancer 2 never saw the light of day!
The Russian Freelancer community thought alike, and took it in its own hands to make a Freelancer 2 happen, aka “Freelancer Nomad Legacy“!
Luckily, they also made a full English translation. Unfortunately the documentation is full of spelling errors, grammar flukes, and missing or confusing instructions.
Turns out as I was told, good instructions are not that important, most important is a good product.
And till the end of the year, they plan to throw out Re-Shade and redo the project using their own engine. I was a bit in disbelief, as I know from experience, good documentation is important. Ignorance is bliss!
Until then, with the help of AI and trial and error, here are my findings:
- copy the freelancer vanialla installation folder into a non-system folder (so no %program files% or similar folder) as the game needs write permission in the game folder, I have chosen H:\Games\Freelancer Nomad Legacy
2. Download the “Variant 2” from https://freelancer2.space/en/
3. Extract the files of the archive into the copied Freelancer game folder, let the system replace already existing files.
4. (Optional) From the get go, I did experience a missing character in the communicator of the intro scene, renaming the file “d3d9.dll” of the /EXE sub-folder into d3d9.dll.bak triggered the launcher to re-create the missing .dll file and fix the Re-Shade error!
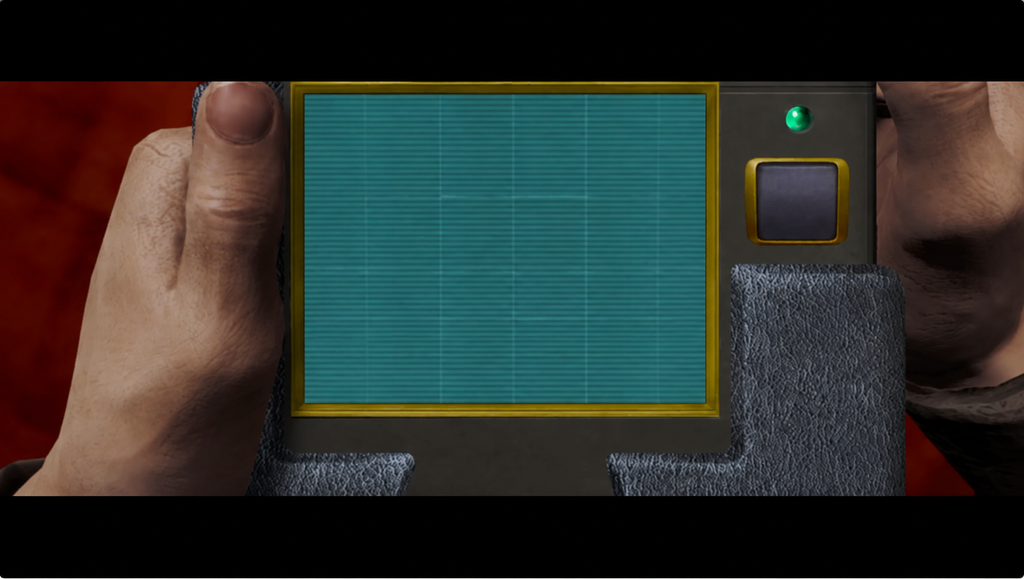
5. once the copy operation completed, run the game by double clicking on the file “RUN_english.bat”.
6. Once the launcher has opened, the select the desired resolution.
Last but not least, the Freelancer XBOX Gamepad Controller Mod
This mod is utilizing JoyToKey and has been tested with Freelancer HDE and should also be compatible with Freelancer Nomad Legacy.
Unfortunately the mod is no longer compatible with the latest version of JoyToKey 7.4.0, so I did file a bug report and also provided a fix.
So here is how to go about:
- Download JoyToKey
- Download the fixed mod file, aka freelancer.cfg from my bug report
- follow the rest of the instructions from the mod’s description page